
20 Jun Why Your Studio Monitors Lie: It’s the Room’s Fault
6:20 Read Time
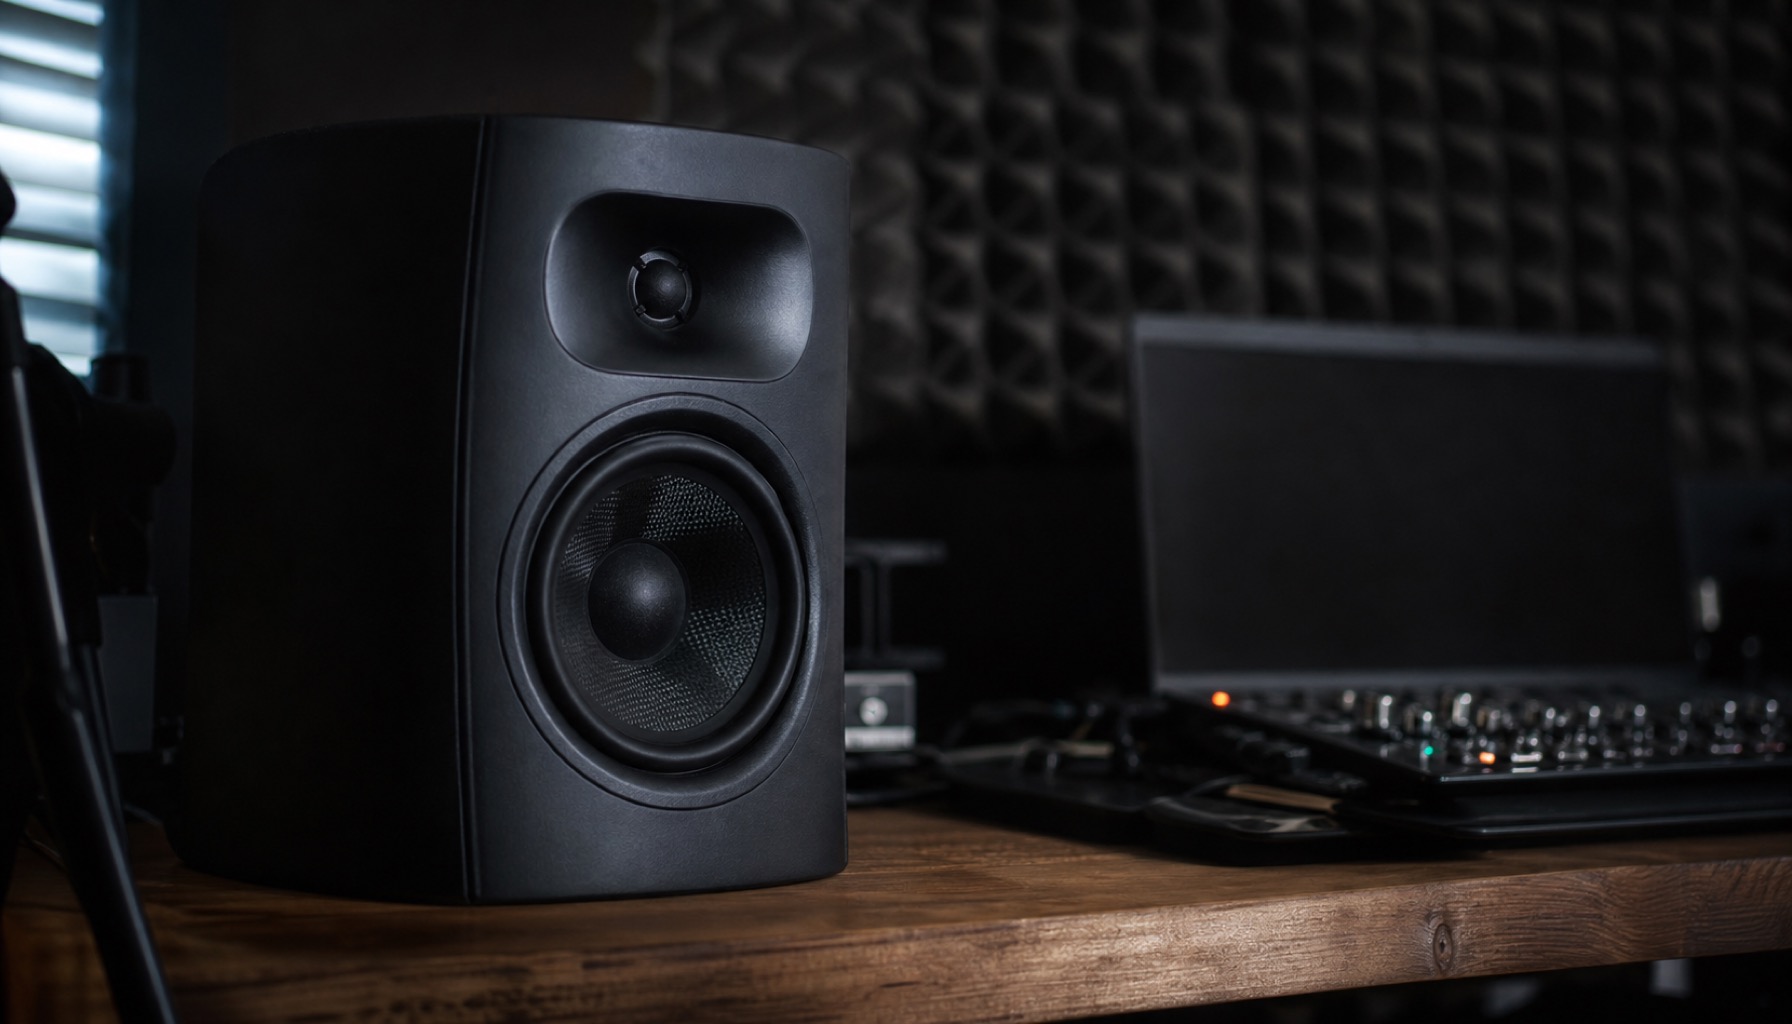
You’ve spent €600 on a pair of near-field monitors, and your mix still sounds like cardboard in the car. Welcome to the club. The fault almost never lies in the box, but in the two meters of air in front of it and the walls around it. The best part: most of the solution costs you nothing, just an hour of rearranging.
DROP
- ▸The room warps your sound more than any speaker. Reflections and standing waves determine what reaches your ears, not the box’s specs.
- ▸Equilateral triangle is the foundation. You and the two monitors form a triangle with equal sides, the tweeters pointing at your ears.
- ▸Corners are bass traps. Monitors placed directly in the corner or with their backs to the wall amplify the bass and muddy the mids.
- ▸Kill the first reflections with a mirror. Where your colleague sees the monitor in the side wall mirror, an absorber belongs.
- ▸Treat the room before expensive gear upgrades. Buying the next monitor without treating the room doesn’t solve the problem, it just makes it louder.
Why Your Room Warps the Mix
A loudspeaker only plays back what’s in the signal. However, more reaches your ear: direct sound, wall reflections, table edge, ceiling, window. In a small, empty room, these echoes arrive a few milliseconds after the original and stick to the sound. Some frequencies jump forward, while others almost disappear. That’s why the same track sounds different in your room than in a car or studio.
Bass is the toughest opponent. Low frequencies have wavelengths of several meters, and in a typical bedroom studio, standing waves form between opposite walls, known as room modes. In some spots in the room, a note booms massively, while half a meter away, it’s gone. If your head is exactly in such a node, you’re mixing against a phantom: it booms for you, so you turn down the bass. On any other system, a hole remains. For those who want to dive deeper, the basics can be found in the guide to setting up a home studio.
The good news: you don’t need expensive measuring equipment for this. The biggest improvements come from positioning and a few targeted absorbers. Not from the next pair of monitors. As long as you’re still wavering between headphones and monitors, it’s worth comparing honestly what your home studio really needs.
How to Set Up Monitors Correctly
Before investing in acoustics, you get the first big leap for free. Four things decide: triangle, height, distance, and symmetry.
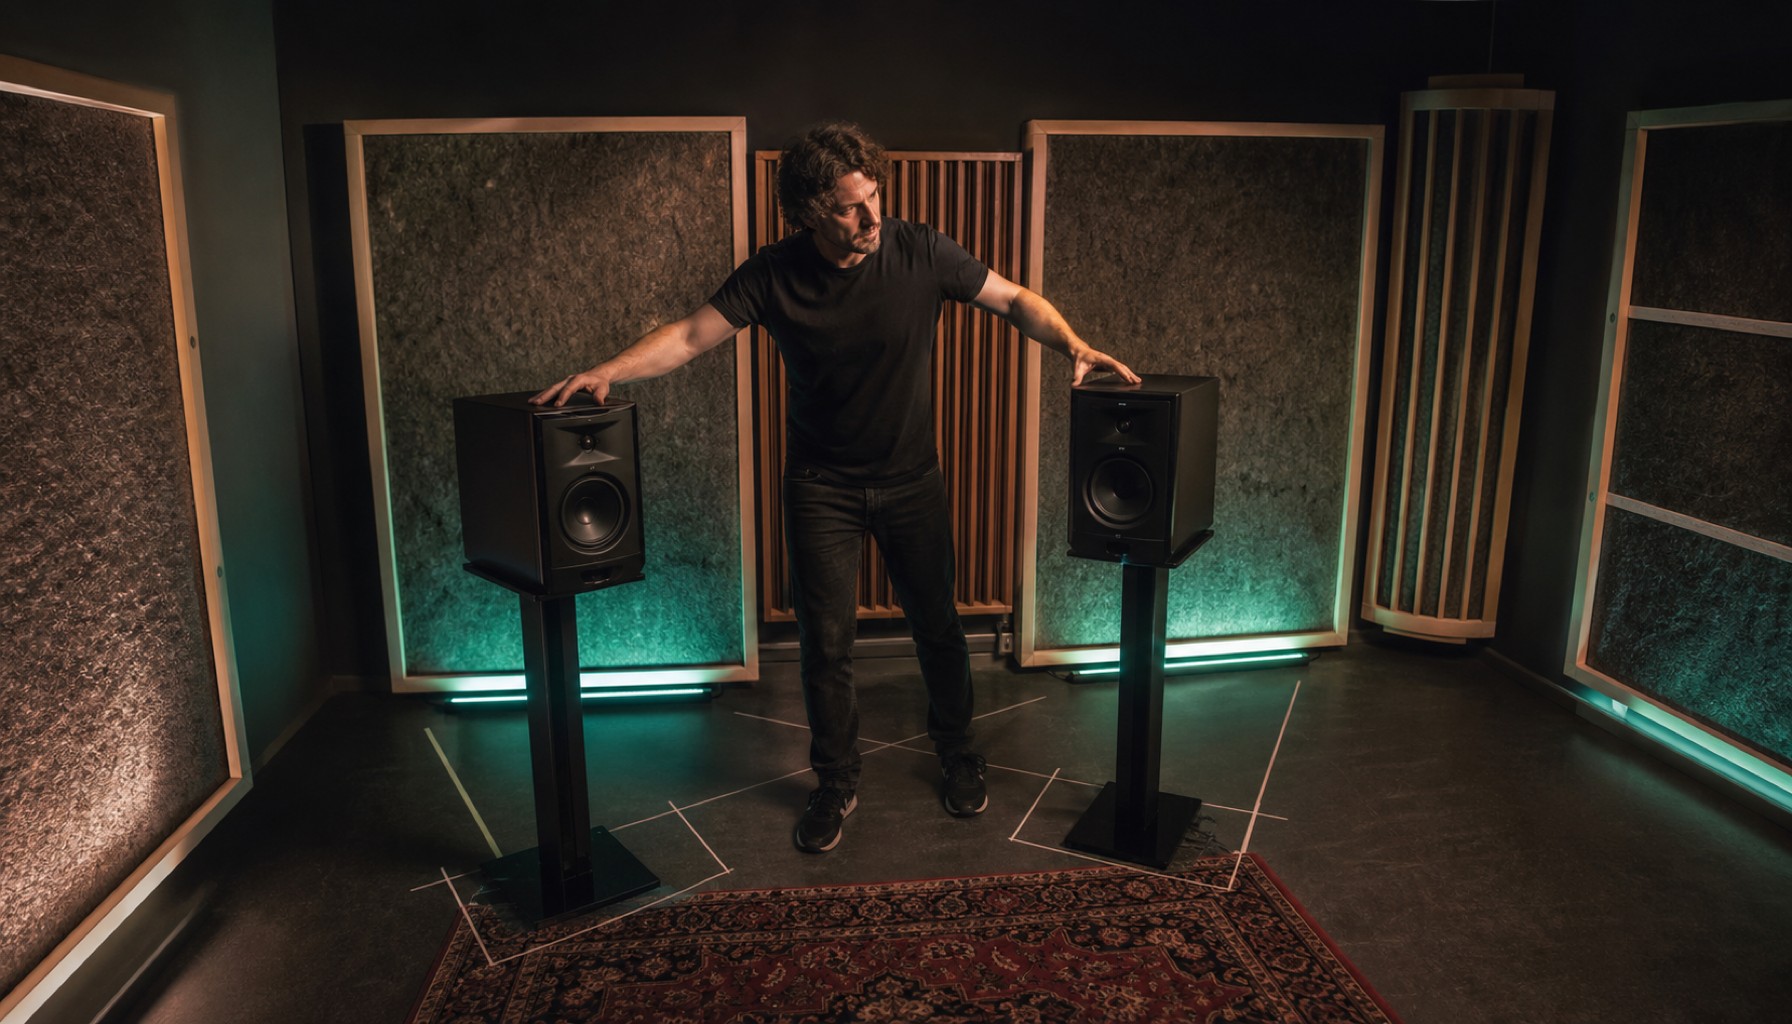
The equilateral triangle is the foundation. The two monitors and your head form a triangle with three equal sides. If the speakers are one meter apart, your head is one meter away from each. You turn the tweeters slightly inward so they point directly at your ears. This sounds simple but determines whether kick, vocal, and snare really sit in the middle.
Height is the second lever. The tweeter should be at ear level when you’re sitting in a normal working position. If the monitor is too low, you lose highs and precision; if it’s too high, the sound image tilts. A few books or inexpensive stands solve this. For the distance from the wall, the rule is: away from the back wall, away from the corner. Even twenty to thirty centimeters of space behind the monitor take away the bass boom.
Symmetry is the point that almost everyone overlooks. If the left monitor is free-standing and the right one is directly next to a shelf or closet wall, only one side reflects. Your brain interprets this as a shift in the stereo image, and you mix crookedly without noticing. Both sides should look as similar as possible.
What Acoustics on a Small Budget Can Deliver
Now comes the part that costs something, but less than a new plugin bundle. You don’t have to completely line the room. You treat the spots that blur the sound the most. The most important trick only requires a mirror and a second person.
Sit at your listening spot, and have someone glide a hand mirror along the side wall. Anywhere you see a monitor in the mirror, a first reflection reaches your ear. That exact spot needs an absorber-porous material such as mineral wool in a fabric frame or a thick acoustic foam. Those two points left and right do more than a room full of foam that sticks somewhere.
Bass absorbers in the room corners-so‑called bass traps-help because low frequencies gather there. Those who build instead of buying can get away cheaply with mineral‑wool panels and some fabric. Important: Egg cartons and thin nub foam are a myth. They swallow a bit of the highs and make the room dull, but they do nothing for the real problems in the bass and mids. If you want to finally understand the difference between a box and a room, a deeper look at what serious producers in monitoring really distinguishes is worthwhile.
Q&A after the Show
Click a question to expand the answer.
Do egg cartons on the wall really do nothing?
How far should the monitors be placed from me?
Do I need a subwoofer in a small room?
Can’t I simply correct the room problems with software?

Editorial IBS Publishing ››
Studio monitors or headphones: What your home studio needs →Setting up a home studio: Interface, DAW and acoustics →Studio monitors vs headphones mixing: What serious producers know →Vocals in a home studio: How they sound professional →Streaming mastering: Why louder on Spotify doesn’t help →
Image source: Cover image and article images AI‑generated (June 2026), C2PA certificate embedded in the image