


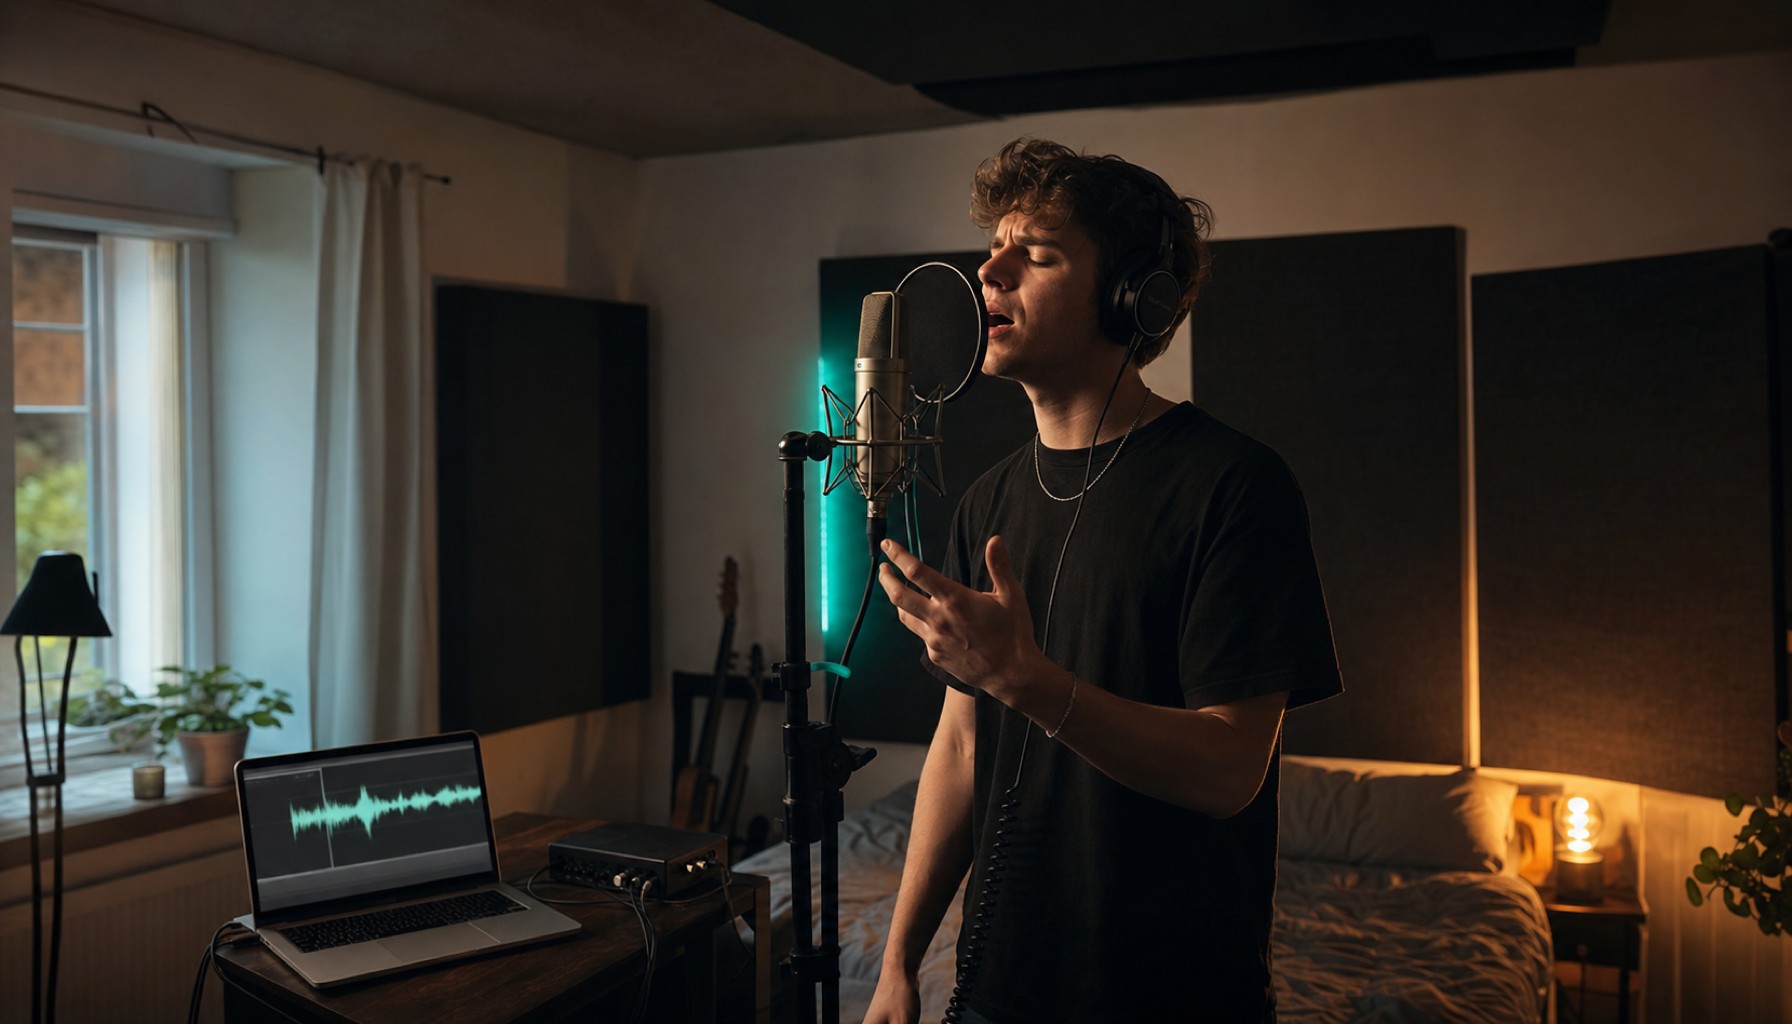
15 Jun Vocals in the Home Studio: This Is How They Sound Professional
6:10 reading time
Billie Eilish’s debut album was recorded in her brother’s bedroom. No studio, no glass partition, no control room. Yet those vocals sit closer to your ear than much of what comes out of expensive spaces. The difference rarely starts with the mic. It starts with the room, the gain, and that moment when warm-ups become a performance.
The path there is more straightforward than any gear debate: tame the room, set clean levels, take every take seriously.
Why do your vocals sound like they’re coming from a laptop?
You hit record, play it back, and realize instantly: the voice is there, but it’s not carrying. It sounds thin, lags behind the music, feels like it’s coming through a phone. A better mic seems like the quick fix. But the problem usually starts earlier. Almost always, two things decide the outcome before anything else: the room and the gain.
A microphone picks up everything-including the walls. In a bare room, flat surfaces bounce sound back, and those reflections hit the mic milliseconds after the voice. That’s what creates that boxy sound, like the vocal is trapped in a shoebox. Then there’s the gain. Sing too quietly and turn it up later, and you amplify the noise. Sing too loud, and you overload the converter-clipping you’ll never clean up. Both happen before the first plugin. A mix can improve a weak recording. It can’t rebuild a broken one.
How your room saves the take
Before you think about equipment, sort out the acoustics. It sounds like extra work, but it’s the cheapest lever in the whole process. You don’t need foam wallpaper or a recording studio. You just need to keep early reflections out of the mic.
The easiest trick: sing inside a full wardrobe or hang a thick blanket behind the mic. Soft, dense surfaces absorb the high frequencies that create that boxy sound. A small reflection filter behind the mic helps too, but it’s no substitute for room treatment. Don’t stand in the middle of the room or directly in front of a bare wall. A corner with soft surfaces all around is often the best vocal-booth stand-in an apartment can offer. FINNEAS started exactly like that-mattresses on the wall and a mic in the bedroom.
How to record a vocal track that carries in the mix
Once the room is sorted, performance takes over. These five steps take you from raw idea to a track that sits up front in the mix.
- Large-diaphragm condenser plus pop filter, roughly a hand’s width away. The pop filter catches plosives-the harsh P and B sounds that would blast the diaphragm. Too close adds low-end buildup from proximity effect; too far pulls the room into the recording. The distance isn’t a detail; it shapes the entire sound.
- Set levels cleanly before you sing your first real take. Sing the loudest part of the song and set the gain so peaks hit around minus six decibels. That leaves headroom, prevents clipping, and keeps noise floor low. This is gain staging, and it’s the most unspectacular step with the biggest payoff.
- Use headphones instead of speakers while recording. Speakers in the same room bleed back into the mic and build an echo you can’t remove. Closed-back headphones keep the playback sound with you and out of the recording.
- Record multiple takes, then comp the best bits later. Nobody nails a perfect pass on the first try. Record three to five full takes and stitch together the best lines into a clean master take. That’s comping. That’s why album vocals rarely sound like one random pass.
- Record dry, add effects in the mix. Sing without reverb on the recording track. Reverb and delay are mix decisions you can change anytime. A recording baked with fixed reverb stays that way, and that robs you of flexibility later.
What is gain staging? Setting the volume at every point in the signal chain-from the microphone through the interface to the track in your software. The goal is a level loud enough to keep noise down but quiet enough to avoid clipping. Clean gain staging at the start prevents most mix headaches down the line.
How Raw Takes Become a Voice
Now you’ve got a clean track in your software. The mix turns it into a voice that sits front and center. The workflow is almost always the same. First, a high-pass filter at 80 to 100 Hertz removes the low-end rumble that every close-up mic picks up-and that has no place in a vocal track. Next, EQ: you gently cut the muddy mids and add a touch of air around ten to twelve kilohertz.

Then comes compression. It evens out the volume jumps between whispered phrases and belting, so the voice never disappears or leaps out of the speakers. Three to six decibels of gain reduction usually does the trick-any more flattens the life out of it. If the S and hissing sounds still bite, a de-esser takes care of them. Finally, depth: a short reverb and a subtle delay place the voice in a space instead of leaving it clinically dry up front. That’s the moment when a recording becomes a production. Pitch correction, if needed, is a separate step with its own tools-and it comes after. What goes over everything at the end is mastering, yet another discipline.
Where do most home recordings fail?
Three mistakes keep cropping up. First: trying to do too much at once. If you tackle recording, mixing, and tuning simultaneously, you’ll lose track and eventually hear nothing at all. Separate the stages. Second: listening too loud. After an hour at high volume your ears fatigue and you make poor calls. Listen lower, take breaks more often. Third: slathering everything in effects. A tidal wave of reverb doesn’t fix a weak take-it just turns it to mush. The best vocal production is often the one you don’t notice. And be honest: you’ll hate your first ten attempts. That’s normal. Vocal recording is a craft that only improves through repetition, not through the next plug-in.
Q&A After the Show
Click on a question to expand the answer.
Which mic should I buy as a beginner?
Do I need a treated room, or will makeshift work?
Why does my voice sound thin even with an expensive mic?
Is Auto-Tune a must, or can I skip it?

Vocal Tuning: Auto-Tune or Melodyne for a better sound? →Streaming Mastering: Why louder on Spotify doesn’t work →Spatial Audio Headphones 2026: What the NAMM innovations bring to mixing →Sidechain Compression: Cleanly integrating the pump effect into your mix →Brain Endurance Training: Staying focused when it counts [IBS] →
Image source: Cover and article images AI-generated (June 2026), C2PA certificate embedded in images
Translated from the German original using artificial intelligence. The German version is authoritative.